Clik here to view.

Perelman Papers, Box 11
Such was the assessment of a leaking bottle of wine from the manuscripts collection (by a library staff member who dared to take a sip). There’s more to this story, and I was lucky enough to be able to both participate in and document the first few chapters.
As preparations began for the 14-month closure of the John Hay Library (Brown’s Special Collections Library), workers readying items for transport to offsite storage noticed that a box in the S.J. Perelman Papers (part of the Archives) was leaking. Inside was a bottle of wine, which had been safely housed in the Hay’s vault for decades; at some point, however, the cork had become unstable and had begun to leak wine. It was clear that the bottle would have to be emptied and sent to our materials conservator. Before (fully) breaking the seal and removing the wine, the bottle was brought to me so that I could document it in its unaltered state. While the most crucial part of this process was to capture and preserve the hand-drawn label, we also wanted to have a record of the object in its original state.
Image may be NSFW.
Clik here to view.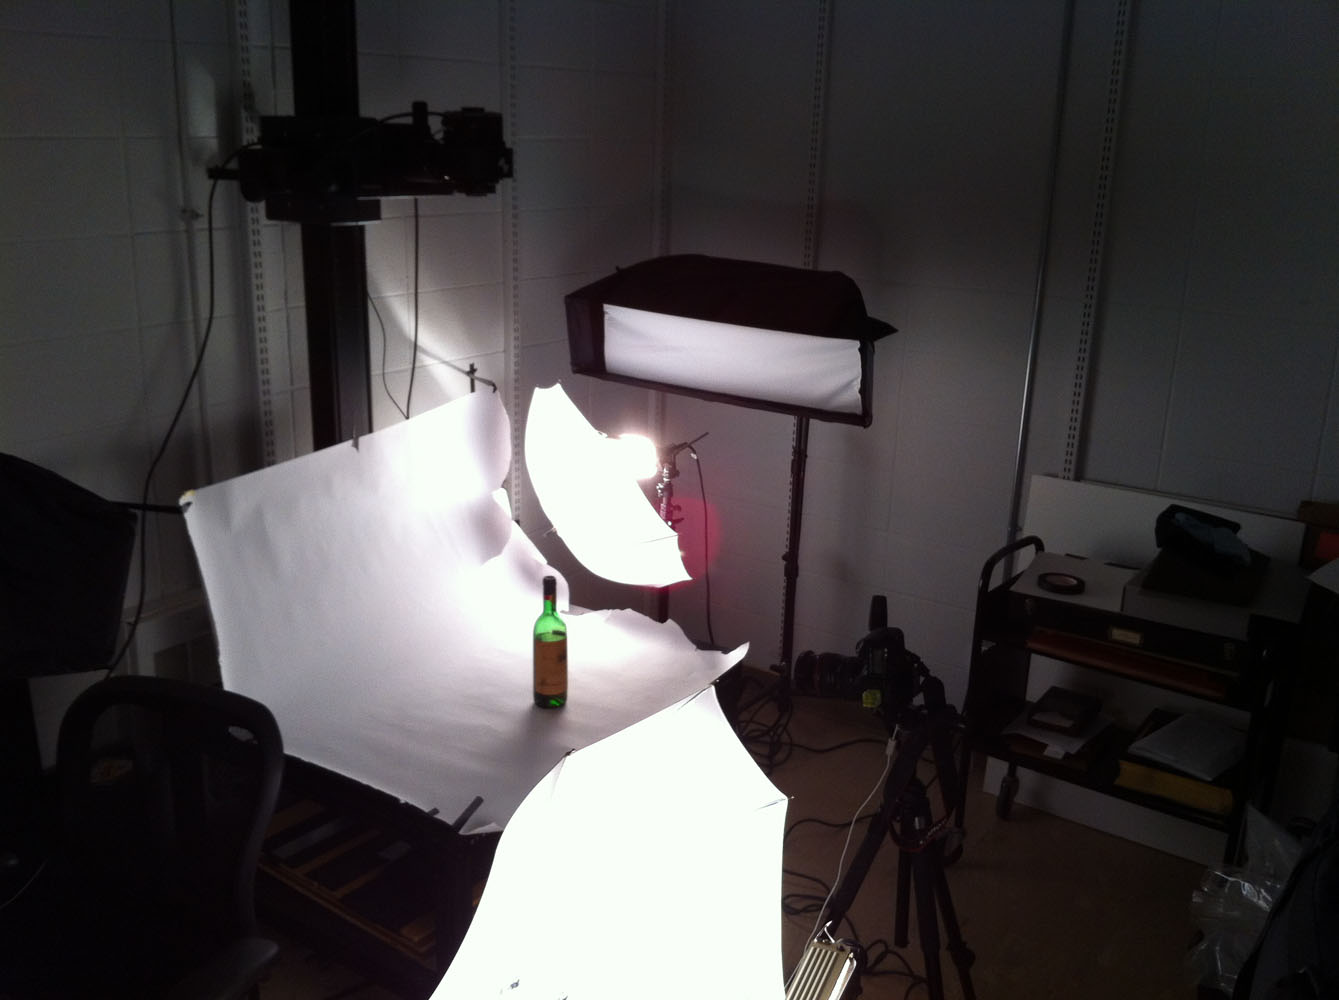
Wine bottle at the ready, I set up our reprographic camera stand to use as a shooting table. Because our strobes have narrow softboxes on them (perfect for documents and books, not so perfect for three-dimensional objects), I used our portable hotlights with umbrellas. Photographing glass is tricky; it’s best to light it from behind, using bounced light to give the object its shape and prevent distracting reflections. However, in this case I needed to show the glass, the liquid inside, as well as the label on the front. I used one light to illuminate the scene, with particular attention paid to the label. I used the other light as a handheld light; I held it by the light stand, and used a variety of angles and distances from the bottle to get the lighting I wanted.
In the interest of thoroughness, I photographed the bottle from the front, back, and sides. The most difficult shot was the back of the bottle, as the label prevented me from lighting through the bottle, and made the surface of the glass highly reflective. I could get myself out of the frame, but both the camera I was using and the one mounted to the top of the repro stand were visible in the glass. I taped white paper over the top camera, which solved the problem easily. The camera directly in front of the bottle needed a bit more work. Using the lens cap, I traced a circle onto a piece of paper. I then cut that circle out, and mounted the paper on the camera (using the lens cap gives you a good approximation of the lens size). The resulting image has the expected specular highlights and reflections, but has minimized the obvious camera/room reflections.
Clik here to view.

Making the camera cover to reduce reflections.
The final images give a good sense of the bottle, the wine inside, and the label. To afford users a full view of the label, I combined three different shots of the bottle into one.
Clik here to view.

Front, back, and label views.
Next time, we’ll look at how we approached uncorking the bottle – and what its contents had in store for us.
